Tutorial Update: Enhancing the Instragram Filter App
Earlier this month I published a tutorial about creating a web app with Instagram-like filters. One of the most requested features is for giving people the ability to download the resulting image with applied filters. There are a few ways to do this:
- Send the image data to the server, where a script would set the appropriate headers and force the image to be downloaded. We already have a tutorial about this. It will work in any browser, but will involve a round trip to the server, which makes it a poor choice for large files like images;
- Use a library like Downloadify. It relies on a hidden flash animation to generate and show the save dialog. If the person doesn't have flash installed, you are out of luck;
- Force the image to download directly from JavaScript with a little known HTML5 trick - the download attribute. This is instantaneous and doesn't involve any trips to the server. The bad news is that it only works in Chrome for now, Firefox and the rest will display the image in a new tab (people will still be able to save it in the regular way though).
I prefer the third option, as it keeps things entirely on the client side and doesn't depend on flash. Read more on how to implement it below:
Using the HTML5 download attribute
The HTML5 download attribute tells the browser that instead of displaying a link, it should download it as a file. Even more, the value of this attribute is the name you want it to be saved as. At the moment only Chrome honors it, but it should land in Firefox soon. To use it, we have to create a link for downloading the image, and to add the attribute to it:
index.html
<div id="photo">
    <a href="#" class="downloadImage" target="_blank" download="photo.png">Download Image</a>
</div>
The href attribute will be replaced with the DataURL of the image, which is easy to obtain from the canvas. I've placed the link in the #photo div so it is easier to show next to the image. Note that we are building upon the HTML from the original tutorial, which I won't be presenting here.
Next, we should apply some styling to the link:
styles.css
.downloadImage{
    position: absolute;
    display: none;
    text-indent: -999px;
    top: 100px;
    right: -260px;
    overflow: hidden;
    width: 206px;
    height: 153px;
    background: url('../img/download_image.jpg');
}
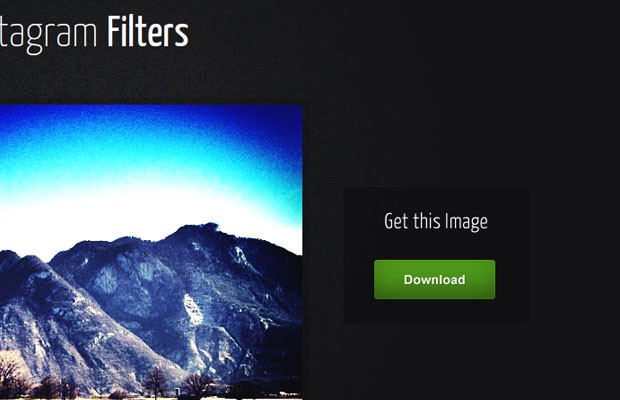
It should look like this:
And the last thing we need to do, is to include two functions in the main JavaScript file:
script.js
var downloadImage = $('a.downloadImage');

function showDownload(canvas){

    downloadImage.off('click').click(function(){

        // When the download link is clicked, get the
        // DataURL of the image and set it as href:

        var url = canvas.toDataURL("image/png;base64;");
        downloadImage.attr('href', url);

    }).fadeIn();

}

function hideDownload(){
    downloadImage.fadeOut();
}
These functions show and hide the download button respectively. The show function also binds a listener to the click event. When that occurs, it converts the canvas element to a dataURL string, and sets the href attribute. As we already have the download attribute in place, this will download the canvas contents as photo.png in Chrome, and open it in a new tab in Firefox and the rest. I call these functions in the callback passed to the Caman library:
script.js
Caman(clone[0], function () {

    // If such an effect exists, use it:

    if( effect in this){
        this[effect]();
        this.render();

        // Show the download button
        showDownload(clone[0]);
    }
    else{
        hideDownload();
    }
});
This makes the button show only when the filter is different from the "Normal" one.
With this our enhancement is ready! I hope that you find it useful.
Bootstrap Studio
The revolutionary web design tool for creating responsive websites and apps.
Learn more
I like your tutos. Merci ;-)
Thanks for Update!
Your version is better than my version.
tnx Martin...
Great feature!!
Nice article... really helpful for me.
Great App Martin! And with the introduction of download option you have made it even better. Thanks a lot.
Hey this is great apps Martin, really nice. But I have a question how to add remote upload function so the applied image can be uploaded to facebook for examples. I think it will be a good feature. Thanks.
Hello,
I tried your tutorial before and it is awesome, but when i tried to use the download atribute with the Internet Explorer browser, the download redirects to a blank page without starting the download. On safary I got the same. You know some workaround or something else to fix this problem?
Best regards.