The Simplest Way to Add Google Maps to Your Site
When building a website, you often need to include a map to give people a better sense of direction. Google Maps is the most popular mapping service today and it offers a wide variety of tools and services that you can use.
In this tutorial we will show you how to easily add a map to your website and customize it using the gMaps.js library. It is a simple and easy to use library, that allows you to use the full potential of Google Maps without using large amount of code.
Project Overview
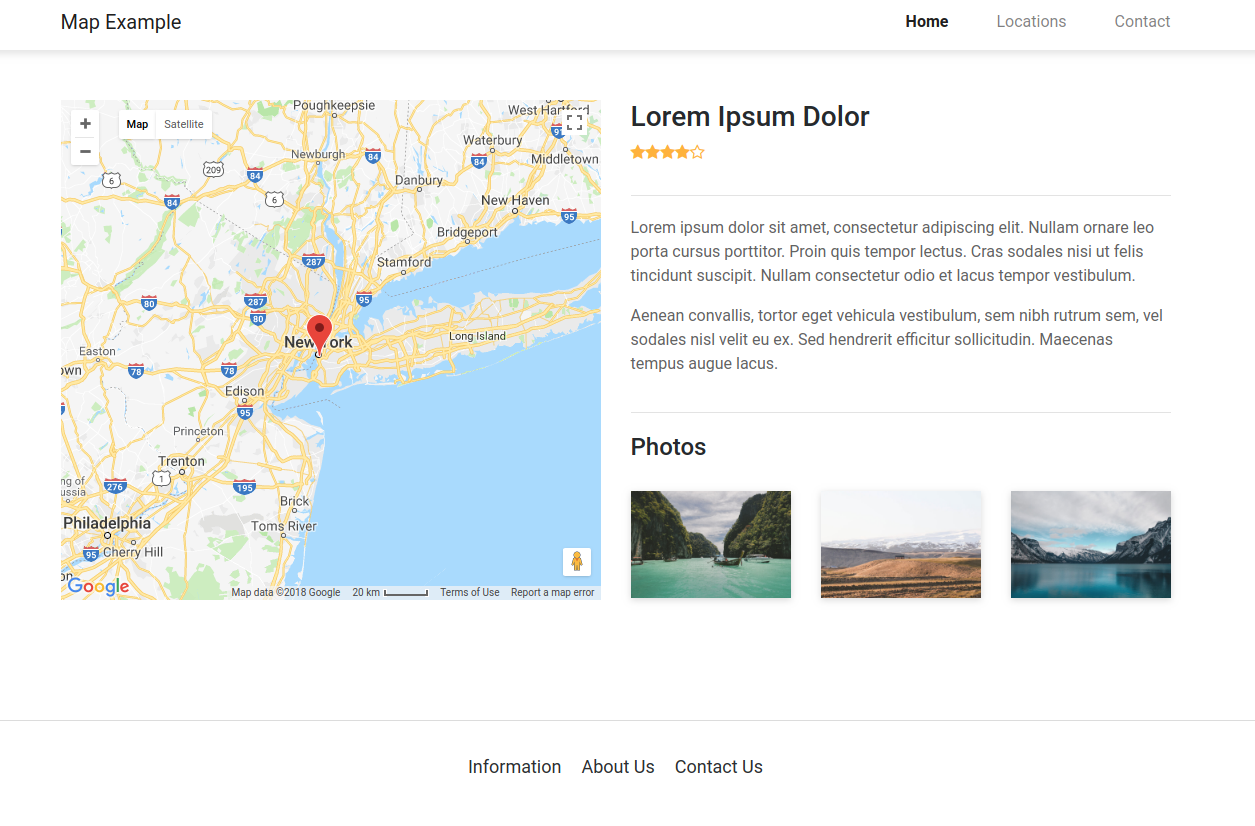
To demonstrate the usage of Google Maps, we have created a simple design using HTML and Bootstrap 4. You can check the image below for the final result.
Layout
Our design consists of a Bootstrap row and two columns. In the left column we show the Google map and in the right column we have headings, with some text, font-awesome icons and a small image gallery.
<div class="map-example">
    <div class="row">
        <div class="col-lg-6">
            <div id="map"></div>
        </div>
        <div class="col-lg-6">
            <div class="heading">
                <h3>Lorem Ipsum Dolor</h3>
                <div class="rating">
                    <i class="fa fa-star icon"></i>
                    <i class="fa fa-star icon"></i>
                    <i class="fa fa-star icon"></i>
                    <i class="fa fa-star icon"></i>
                    <i class="fa fa-star-o icon"></i>
                </div>
            </div>
            <div class="info">
                <p>Lorem ipsum dolor sit amet, consectetur adipiscing elit. Nullam ornare leo porta cursus porttitor. Proin quis tempor lectus. Cras sodales nisi ut felis tincidunt suscipit. Nullam consectetur odio et lacus tempor vestibulum.</p>
                <p>Aenean convallis, tortor eget vehicula vestibulum, sem nibh rutrum sem, vel sodales nisl velit eu ex. Sed hendrerit efficitur sollicitudin. Maecenas tempus augue lacus.</p>
            </div>
            <div class="gallery">
                <h4>Photos</h4>
                <div class="row">
                    <div class="col-md-4">
                        <a href="assets/img/image2.jpg"><img class="img-fluid image" src="assets/img/image2.jpg"></a>
                    </div>
                    <div class="col-md-4">
                        <a href="assets/img/image3.jpg"><img class="img-fluid image" src="assets/img/image3.jpg"></a>
                    </div>
                    <div class="col-md-4">
                        <a href="assets/img/image4.jpg"><img class="img-fluid image" src="assets/img/image4.jpg"></a>
                    </div>
                </div>
            </div>
        </div>
    </div>
</div>
Map Configuration
In order to use Google Maps, you need to import the gMaps.js library and the Google Maps API. It requires an API key, so if you already have one you can use it, otherwise you can go to this link to learn how to create one. When you have your key ready, simply replace the "YOUR_API_KEY" part of the script.
<script src="http://maps.google.com/maps/api/js?key=YOUR_API_KEY"></script>
<script src="https://cdnjs.cloudflare.com/ajax/libs/gmaps.js/0.4.25/gmaps.js"></script>
Now we need to generate the map. We create a new map object and as parameters we set the selector ('#map'), and the latitude and longitude of the point we want to show on the map.
Next we need to add a marker on the map. To do so, use the addMarker() method with the latitude and longitude where you want to place it. We can also set the initial zoom at which the map is displayed using the setZoom() method with an integer number as parameter. The lower the number, the more "zoomed in" the map is.
var map = new GMaps({
    el: '#map',
    lat:  40.730610,
    lng: -73.935242
});

map.addMarker({
    lat: 40.700610,
    lng: -73.997242,
    title: 'New York'
});

map.setZoom(8);
Styles
The styles are located in a separate CSS file. Since we are using Bootstrap, most of the styling is done by the framework. We have added some margin and padding tweaks, font colors and box-shadows.
.navbar.navbar-light.navbar-expand-lg.bg-white.page-navbar {
  box-shadow:0 4px 10px rgba(0, 0, 0, 0.1);
}

.navbar-light .navbar-nav .active > .nav-link, .navbar-light .navbar-nav .nav-link.active, .navbar-light .navbar-nav .nav-link.show, .navbar-light .navbar-nav .show > .nav-link {
  font-weight:bold;
}

.nav-item.item {
  padding-right:2rem;
}

.navbar-nav:last-child .item:last-child, .navbar-nav:last-child .item:last-child a {
  padding-right:0;
}

.map-example .heading .icon {
  color:#ffb526;
}

.map-example {
  margin-top:50px;
  padding-bottom:100px;
}

.map-example .heading {
  margin-bottom:20px;
  border-bottom:1px solid #e4e4e4;
  padding-bottom:30px;
}

.map-example .info {
  margin-bottom:20px;
  border-bottom:1px solid #e4e4e4;
  padding-bottom:20px;
  color:#636363;
}

.map-example .gallery h4 {
  margin-bottom:30px;
}

.map-example .gallery .image {
  margin-bottom:15px;
  box-shadow:0px 2px 10px rgba(0, 0, 0, 0.15);
}

.map-example #map {
  height: 300px;
  margin-bottom: 20px;
}

.page-footer {
  padding-top:32px;
  border-top:1px solid #ddd;
  text-align:center;
  padding-bottom:20px;
}

.page-footer a {
  margin:0px 10px;
  display:inline-block;
  color:#282b2d;
  font-size:18px;
}

.page-footer .links {
  display:inline-block;
}

@media(min-width: 992px){
  .map-example #map{
    height: 500px;
  }
}
Google Maps in Bootstrap Studio
The Bootstrap Studio app offers a fast and easy way to configure Google Maps without having to write a single line of code. You can find detailed instructions on how to add Google Maps in your projects in the Bootstrap studio tutorials section.
Conclusion
You can get the full source code for this tutorial, from the Download button near the top of the page. You are free to customize and use it in all your projects, for commercial or personal use, no attribution required (our license).
Bootstrap Studio
The revolutionary web design tool for creating responsive websites and apps.
Learn more