Building Responsive Emails With MJML
Making HTML emails is just like building websites. The only difference is that layouts have to be constructed using <table>, CSS styles have to be written inline, and you have to support clients so out of date, they use Microsoft Word for rendering. So yeah, just like making websites, only infinitely worse.
One way to make email development easier is to use a framework which will take care of most of the above-mention issues. In this tutorial we will show you how to use the excellent MJML framework to make your own unique email templates.
Disclaimer: This tutorial contains images of delicious food. Read at your own risk!
1. What is MJML?
MJML provides a simple XML-like language that can be compiled to email-ready HTML. This way we don't have to manually code entire layouts out of tables and legacy in-line styles.

The framework offers a rich set of standardized components with various customization options. By constructing our template out of MJML components, we make sure that we won't use any non-email-proof CSS properties or HTML tags.
2. The Design
For a tasty example we will be making a simple pizza-themed newsletter. The finished MJML template, as well as a compiled HTML version can be downloaded from the Download button near the top of the page.
The layout consists of four major sections:
- Header
- Introduction
- Responsive list of popular products
- Footer with social buttons
For the sake of this tutorial we will fill the email with static dummy data. In real scenarios you want to have a template and some sort of system to generate newsletters every time you want to send one.
3. Installation
The easiest way to get started with MJML is using the framework's CLI. To install it you will need to have Node.js on your machine, preferably v6.6.0 and above (we are using v6.9.5).
node -v
v6.9.5
Once you have that covered, open up a terminal window and install MJML globally, providing access to the mjml command.
npm install -g mjml
mjml --version
3.2.0
If you are using Atom or Sublime Text, there are also various helpful plugins that you can install if you want.
4. Working with MJML Documents
MJML is written in .mjml files. Create a new directory and add a template.mjml file. This is the only file we will be working on. It will contain all our markup and styles. Since we are making an email template, any external dependencies (mainly images) have to be included via CDN.
To compile .mjml files to .html, you need to open a terminal in the working directory and run one of the following commands:
# Compile template.mjml into output.html
mjml template.mjml -o output.html

# Watch template.mjml and auto-compile on every change.
mjml -w template.mjml -o index.html
Just like in HTML, our MJML document needs a head and a body
<mjml>
  <mj-head>
    <mj-attributes>
      <mj-all font-family="sans-serif" font-size="16px" color="#626262" />
      <mj-button background-color="#F45E43" color="#fff" font-size="14px" />
    </mj-attributes>
    <mj-style>
      .heading {
        padding-top: 15px;
        text-align: center;
        font-style: italic;
        font-size: 18px;
        font-family: "serif";
      }
    </mj-style>
  </mj-head>
  <mj-body>
    <mj-container background-color="#eee">

    <!-- Content goes here. -->

    </mj-container>
  </mj-body>
</mjml>
In the mj-head we've defined some default font styles to all MJML components, as well as styles for all our buttons. We've also added regular CSS, which on compilation will be in-lined by the framework. If you've never worked with HTML emails before try to avoid writing custom CSS styles, as many properties do not work correctly.
The mj-body will hold all our visible content. We've started with a container and given it a background color.
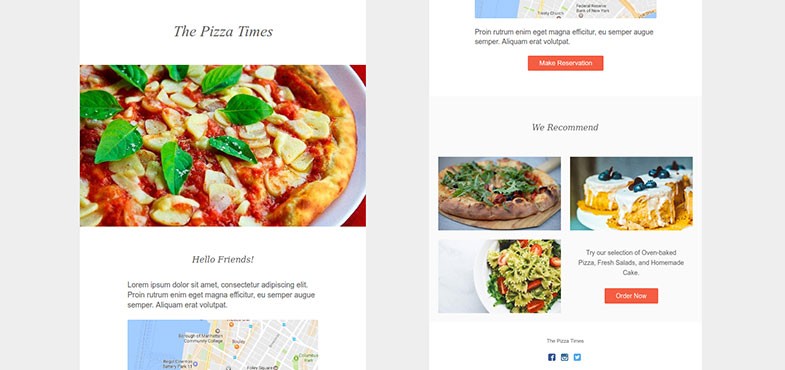
5. Header
MJML layouts are made out of sections (rows) and columns. For out header we will need two sections (two rows), each with one column in them. The first will have the newlsetter title, the other one will show a big pizza image.
<!-- Header Text -->
<mj-section background-color="#fff">
<mj-column>
<mj-text
align="center"
font-style="italic"
font-size="32px"
font-family="serif"
padding-top="40px"
padding-bottom="40px">The Pizza Times</mj-text>
</mj-column>
</mj-section>
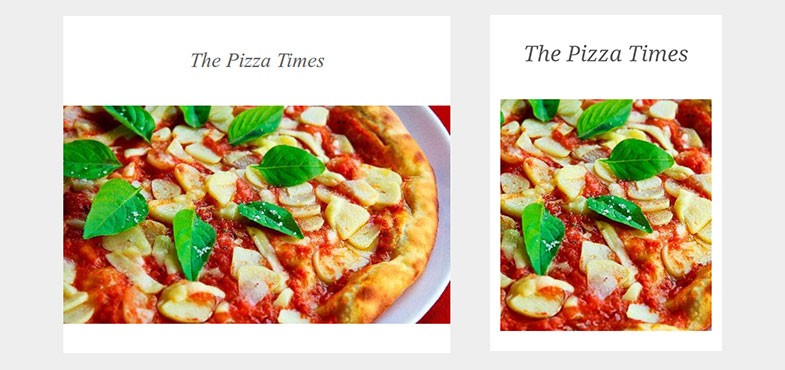
<!-- Pizza Image -->
<mj-section
background-url="https://demo.tutorialzine.com/2017/02/images/header-image.jpg"
background-size="cover"
background-repeat="no-repeat">
<mj-column>
<!-- Spacer component, used to give height to the background image. -->
<mj-spacer height="300px" />
</mj-column>
</mj-section>
As you can see, styles in MJML are described via specific attributes which are very similar to regular CSS. To see what properties are supported by each component go to the MJML documentation.
6. Intro Section
The second part of out template holds a heading, couple of paragraphs, an image link, and a call-to-action button.

<mj-section background-color="#fff">
  <mj-column width="450">

    <mj-text>
      <p class="heading">Hello Friends!<p></mj-text>

    <mj-text>
     Lorem ipsum dolor sit amet, consectetur adipiscing elit. Proin rutrum enim eget magna efficitur, eu semper augue semper. Aliquam erat volutpat.</mj-text>

    <!-- The Href attributes turns our image into a link. -->
    <mj-image
     src="https://demo.tutorialzine.com/2017/02/images/map.jpg"
     border-radius="3"
     href="#"/>

    <mj-text>
     Proin rutrum enim eget magna efficitur, eu semper augue semper. Aliquam erat volutpat.</mj-text>

    <mj-button
     padding-bottom="25"
     href="#">Make Reservation</mj-button>

  </mj-column>
</mj-section>
Mj-text components can contain any HTML text tags. We've used this to create the "Hello Friends" heading, by applying the .heading class we defined earlier in the <mj-head>.
Also in the <mj-head>, we defined default styles for our buttons, and as you can see, our call-to-action is now colored, even though it doesn't have the background-color attribute.
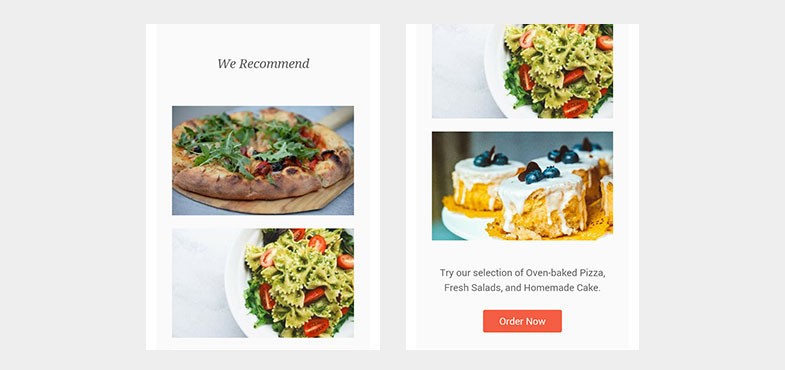
7. Popular Products
This section contains a responsive layout of images and text. Clients that support responsiveness (e.g Gmail), will have a stacked layout on small screens, and a 2-column layout on bigger screens.
MJML is mobile-first, so any email client that does not support media-queries, will always show the stacked layout.
<mj-section
  background-color="#fafafa"
  padding="0 10px 10px">
  <mj-column>

    <mj-image
      src="https://demo.tutorialzine.com/2017/02/images/pizza.jpg"
      padding-left="10px"
      padding-right="10px"/>

    <mj-image
      src="https://demo.tutorialzine.com/2017/02/images/salad.jpg"
      padding-left="10px"
      padding-right="10px"/>

  </mj-column>
  <mj-column>

    <mj-image
      src="https://demo.tutorialzine.com/2017/02/images/cake.jpg"
      padding-left="10px"
      padding-right="10px"/>

    <mj-text
      align="center"
      font-size="14"
      padding-top="15px"
      padding-bottom="10px">
      <p style="max-width: 400px">Try our selection of Oven-baked Pizza, Fresh Salads, and Homemade Cake.<p></mj-text>

    <mj-button
      padding-top="0"
      padding-bottom="15"
      href="#">Order Now</mj-button>

  </mj-column>
</mj-section>
Responsiveness in MJML is done by placing multiple columns in the same section. On big screens the columns will share the available space, and on mobile will move under each other.
8. Footer
In the footer we will implement the very useful <mj-social> component. It allows us to effortlessly set-up buttons for sharing in social networks.
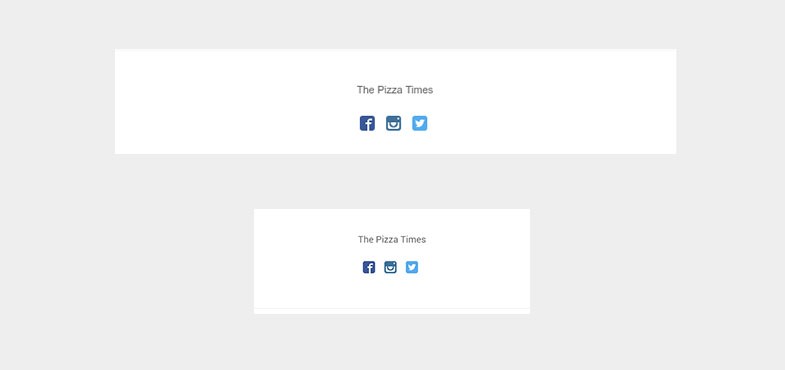
<mj-section background-color="#fff">
  <mj-column>

    <mj-text
      align="center"
      font-size="11">The Pizza Times</mj-text>

    <mj-social
      display="facebook instagram twitter"
      font-size="0"
      icon-size="16px"
      padding="0"
      facebook-href="#"
      instagram-href="#"
      twitter-href="#"/>

  </mj-column>
</mj-section>
You can choose from a range of social networks, and then add redirection URLs to your respective accounts. There are many customization options available, which you can check out in the docs.
With this our newsletter template is complete!
Further reading
In this tutorial we tried to cover all the basics of building responsive emails with MJML. If you want to get more advanced with your HTML email templates, here are some links and resources we recommend:
- The official MJML docs and starting guide - here
- Live editor where you can experiment and try out different ideas - here
- Example templates - here
- Litmus PutsMail, a free tool for sending test emails - here
- Foundation for Emails, another popular framework for HTML emails - here
Bootstrap Studio
The revolutionary web design tool for creating responsive websites and apps.
Learn more
Comments 3
Great tutorial and intro to MJML. My only question - why create an empty column with the pizza as the background image rather than just putting the pizza image in the column as an image as the map is done?
The main reason for migrating from typical & boring HTML emails to MJML framework was that the HTML emails template structure was difficult to handle. You don’t have to worry about writing the inline-CSS for each and every tag, MJML takes cares of that plus it makes the entire email structure responsive.
Thanks man. Really appreciate this article. Helped me out a lot for work.